

How to Animate on Procreate: Easy Ways To Boost Your Game
Heads up: This post may contain affiliate links. Learn more.
7 Simple Steps To Making Great Animations On Procreate
Procreate has rapidly gained popularity as an illustration tool, but are you aware of its animation capabilities?
With its robust features and intuitive interface, Procreate offers numerous advantages for animation enthusiasts. It’s also a lot easier than you think – making it a perfect introduction for beginners.
In this article, we’ll explore exactly how to animate on Procreate, from getting started to adding the finer details, and ultimately exporting and sharing your creations. Whether you’re a seasoned animator or just starting out, Procreate is sure to elevate your animation game.
Getting Started With Procreate
To get started with Procreate, you’ll need to download and install the app on your device. Procreate is available exclusively for iOS devices, such as iPads and iPhones. Simply search for “Procreate” on the App Store and follow the prompts to download and install the app.
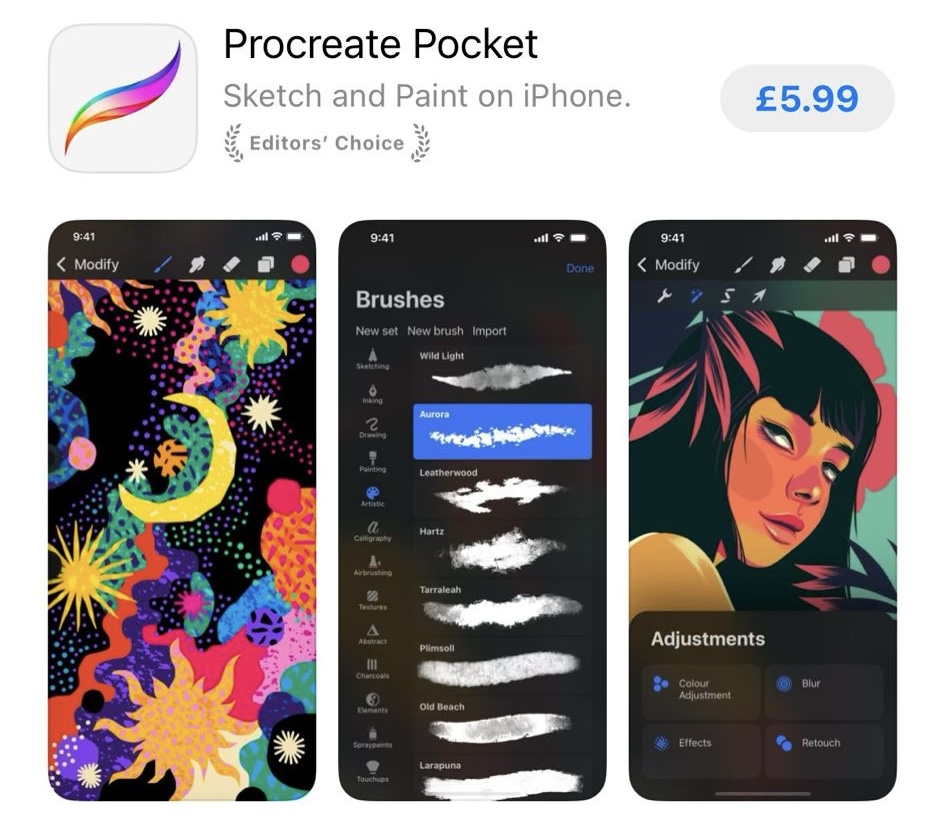
If you’re on your iPhone, you’ll be directed to download Procreate Pocket, which is an optimised version for smaller devices. Ipad users can go ahead and download the full Procreate version.
Keep in mind that Procreate is a paid app, but its price is well worth the investment considering the powerful digital art capabilities it offers. Once installed, you’ll be ready to embark on your digital art journey, including animation and much more.
Essential Animation Tools on Procreate
Upon launching the app, you’ll be greeted by a clean and user-friendly interface designed to maximise your creative workflow. The main screen presents a canvas where you can start all your creations, whether they’re animations or not. Familiarise yourself with the various elements of the interface such as the toolbar, Procreate colour palettes and layer panel. These will be your primary tools for animating later.
Procreate Toolbar
The toolbar provides quick access to essential functions for drawing and animating. It includes options for selecting brushes, erasers, transforming objects and managing layers. Experiment with the different brushes and explore their settings to find the ones that suit your intended style before we start animating.
Procreate Layers
Procreate’s layer system is a fundamental aspect of the animation process. It allows you to separate different elements of your animation and organise them efficiently, creating an order for the movement to take place. Layers can be rearranged and duplicated independently, giving you full control over your composition.
Procreate Animation Assist
In addition to the toolbar and layer panel, it’s also important to understand the animation-specific features in Procreate. This includes the ‘animation assist’ feature which can be turned on via the ‘actions tab’ at the top of your screen. From here, you’ll have the option of using onion skinning and timelines, which provide visual aids for precise movements and smooth transitions. The Animation Assist feature is a great help when learning how to animate on Procreate – hence it’s popularity with users.
Planning your Procreate Animation
Before learning how to animate on Procreate, it’s crucial to understand the importance of pre-production and storyboarding. Pre-production lays the foundation for your animation, helping you clarify your ideas, streamline your workflow, and ensure a cohesive and engaging final product.
Storyboarding in particular, plays a vital role in visualising your animation. It helps animators to define the sequence of events and identify the key moments in the movement. By creating a storyboard, you can map out the flow of your animation and make necessary adjustments before investing time in the actual animation and design process.
How do you storyboard an animation? You might want to quickly grab a piece of paper and sketch the rough idea of movements as if each box was part of the sequence. Afterwards, you’ll have this plan to refer to throughout the digital process.


How To Animate On Procreate With Animation Assist


The following steps look at how to animate on Procreate Pocket – but they should still apply or be similar to Procreate for iPad.
Step 1: Create a New Canvas
Open Procreate and create a new canvas by tapping the “+” symbol in the top right corner. Then you can choose whatever size canvas you want for this particular project.


Step 2: Enable Animation Assist and Settings
To enable Animation Assist, tap the “Animation Assist” icon located within ‘Actions’ – you can find this by tapping on the spanner icon. Animation Assist provides onion skinning, which shows ghosted versions of the previous and upcoming frames to guide your movements. When you return back to your canvas screen, you’ll see your first frame along the bottom as a sequence. This is where your animation slides will appear. You’ll also be able to edit the animation settings such as ‘frames per second’ and adjust the number of onion skin frames allowed.


Step 3: Start Drawing Keyframes
Now, it’s time to create your keyframes which are essential positions or poses in your animation. Begin drawing your first keyframe on the first frame of the timeline using your favourite brush or tool – and add any moments from your storyboard where the keyframes change. To ensure you have your drawing in the same place, you can tap on the selected frame to duplicate.


Step 4: Onion Skinning and In-between Frames
As you draw your keyframes, Animation Assist will automatically display ghosted versions of the previous and upcoming frames on the canvas. This onion skinning helps you see how your animation is progressing and maintain consistent movements between frames.
In-between frames are the drawings that fill the gaps between keyframes, creating the illusion of smooth motion. Using the layer underneath, you can carefully erase parts of your duplicated drawing that will move – redrawing them in a new position. Or, if you prefer a more flickery animated look; redraw your animation over the onion skin. Each time you’re ready for a new motion, tap ‘Add Frame’.


Step 5: Preview Your Animation
To see how your animation is coming along, tap the “Play” button on the bottom toolbar. This will play your frames in real-time, allowing you to check the flow and make any necessary adjustments. You may need to add some additional frames where the movements aren’t smooth enough.
Remember that more frames with gradual movements produce smoother transitions. It all depends on your intended style of animation.


Step 6: Refine and Polish
To add more detail and refine your animation, go back and make changes to individual frames or add extra frames if needed. Continue to use onion skinning and the animation assist tools to ensure smooth transitions. Here’s when you can utilise other Procreate features to make your animation come to life.


Step 7: Export and Share
Once you are satisfied with your animation, it’s time to export and share your creation. Go to the “Share” menu and choose your preferred export format. Or you can return to the main page, select your animation and share that way. Procreate offers various options, including video, GIF, and image sequences. For animations – it’s best to save your work as an ‘Animated Gif’.
Afterwards, you’ll be able to save your work to your camera roll or share it directly through messages or email.


Is Procreate good for animation?
Whilst Procreate is a great digital art tool as a whole – its animation features are not to replace more complex and developed software. It does allow you to practise and grasp the basics of animation very easily, making it particularly useful for beginners. However, if you’re looking to make very detailed and advanced videos – you’ll probably require additional editing programs rather than using Procreate alone.


DO YOU KNOW HOW TO ANIMATE ON PROCREATE AND HAVE ANY TIPS? LET US KNOW IN THE COMMENTS BELOW.
Also, don’t forget you can always share your art with us or tag us on Instagram @darkyellowdot.
Thank you for reading and if you found this article useful, share it around, that makes us happy. To receive more posts like this and updates, join our mailing list, everyone is welcome.
NEED MORE ADVICE?
ARTICLES TO HELP:
How To Make The Best Digital Art With A Procreate Colour Palette
Selling Digital Art: Easy Ways For Artists To Start Making Money
5 Tips For Building Your Instagram Presence As A Digital Artist
SITES TO HELP:
How To Use Procreate: A Beginners Guide
COURSES TO HELP:
Procreate Animation: Make Fun Gifs & Videos
Create Your First Character Animation In Procreate
iPad Procreate Basics For Beginners


Featured Image Source: Canva.com


